
Friday, September 3, 2010
Mila's Daydreams
I came across this Mila's Daydreams by accident and fell in love with what this new mother who is on maternity leave has created!
Oscar is feeling a little blue...
I have posted a few times about my favorite thrift store find Oscar you can read about him here and here.
Well folks he is FINALLY finished! I am so in love with this little guy. I added Pip to my growing owl collection and they get along splendidly. Below are some before, during and after photos.

I loved the flower and leaf carvings and could not leave the store with out him. It's a bit too Brady Bunch for me so I gave him 3 coats of white as a base (it took a lot to cover up the brown, black and red)

After I let Oscar dry for 3 days I painted him the color I ended up using on Pip, but the second the paint hit Oscar it bubbled and started to look like orange peel. As you can imaging I WAS TICKED! I decided I didn't like the color enough to "deal with the finish" so I stripped him down to the base.

Pretty rough. After stripping and scrubbing I had a base I could work with and painted him this beautiful deep sea blue. OBSESSED with how he turned out.


Well folks he is FINALLY finished! I am so in love with this little guy. I added Pip to my growing owl collection and they get along splendidly. Below are some before, during and after photos.
Pretty rough. After stripping and scrubbing I had a base I could work with and painted him this beautiful deep sea blue. OBSESSED with how he turned out.
What a HOOT!
I have this thing for owls...it's kind of new, but I have secretly liked them before they were cool. I started my collection with Oscar and add to it when I can find one. I was at some random garage sale when I found Pip. So cute, kind of weird, but then again so am I. This was only .50 cents! Yep under a dollar. I was able to use some paint I bought for Oscar, but decided it wasn't the right color for him. It is perfect for Pip!

I think you are supposed to put a candle underneath so the light can shine through the holes, but I don't think it's safe now that I have put a little "sparkle" on it. Because of the holes I had to paint the inside.


I think you are supposed to put a candle underneath so the light can shine through the holes, but I don't think it's safe now that I have put a little "sparkle" on it. Because of the holes I had to paint the inside.
Yes that is a sock on my hand....I painted the day before and now three days later I still have the paint on my hands. I didn't think it would be OK to be checking in patients with black, white, and blue paint not to mention the walnut furniture stain on my hands. It worked pretty good actually so NEW USE FOR SINGLE SOCKS! I am so thrifty... The bottom picture is my favorite, if you look closely you can see my little tosies with the chipped pedicure. It's all the rage right now guys it's OK to be jealous. After about 3 coats here is what little Pip looks like.
And here he is with Roger. I LOVE my budding Owl collection. What do you think?
Thursday, September 2, 2010
I was FRAMED!
I found these little plastic oval gold frames at Goodwill for $0.99 each and knew that I could do something to liven them up.


I wanted to try a technique I found on The Diary of Daves Wife. I am pretty much in love with her (read how she became Daves Wife and I promise you will love her also) and everything she has created especially the silhouette. I don't have glaze, but I have Distress ink and wanted to try it out. I started by cleaning the frames and taking them outside to my trusty spray paint board.

I used some Wal-Mart brand that cost under a dollar and gave them each two coats.

After they dried I rubbed on the Distress Ink, tea stain I believe. I was not happy with the outcome. They didn't have the depth I wanted and the color was way to orangy-brown for my taste.

So I went to the garage and pulled out my Minwax stain and rubbed it in. I let it dry for about five minutes and with a clean rag wiped it of. This is what I was looking for!

I couldn't find a silhouette I liked and I wanted to try out some of my new stamps. I went to my paper supply and found a cute green and brown damask pattern.

I'm a little embarassed to say, but I had to make about 5 different ovals before I finally got it right (or close enough). I popped them in the frame and am quite pleased with my $2.00 wall art.

I'm not gonna lie, I don't absolutely LOVE them, but I like them. I think when I find the perfect place to put them my love will grow. I am pretty pleased with how they turned out.
Tuesday, August 31, 2010
Gooey Goodness
1 box yellow or white cake mix
2 pkg. dry yeast
1 tsp. salt
2 1/2 c. lukewarm water
5 c. flour
1 stick butter, melted
3/4 c. brown sugar
1 3/4 tbsp. cinnamon (or more depending on your taste buds)
This is the EASIEST cinnamon roll recipe I have ever used! It's simple, fast and most importantly AMAZING! Below you will find the ingredients I used.

Combine the first 3 ingredients and add water. Mix until ingredients are incorporated well. Add three cups of flour in 1 cup increments mixing well after each addition. After the third cup the dough will pull off sides. Sprinkle about a cup of flour onto a clean workspace. Empty the mixing bowl onto the flour and start kneading in the flour. For the last cup sprinkle on in small increments you may find you don't need the entire last cup. After dough is kneaded and formed into a ball place into a greased bowl. I prefer glass or ceramic. Cover and let the dough rise for about an hour, it should double in size. We were processing beans and ham so I placed it by the pressure cooker, it was my own personal little proofing station. Punch down dough and place on a clean buttered workspace. Working carefully so you don't tear a hole into it begin forming the dough into a rectangle. This is a lot of dough and your rectangle will be quite big. When you are satisfied with the size spread the room temperature butter onto the rectangle. Spread out brown sugar and then sprinkle with cinnamon. Starting from the bottom roll up. You will then have a rather long and large "log of dough". Slide a 12" piece of thread under the log and bring them up to the top and cross over. (I know...it's hard to understand sorry) Slice every 1/2 inch or so depending on how thick you want your rolls. Place in greased baking pan, cover and let rise for about 45 minutes and then bake 15 to 20 minutes at 350 degrees. About 10 minutes before you take the rolls out of the oven make the Cream Cheese Frosting. While warm frost and then DEVOUR!
1

2

3

4

5

6

7

8

9

10

11

12

13

14

15

16

17

18


19

20

21

22


23


Cream Cheese Frosting
1 (8 ounce) packages cream cheese, softened
1 cup butter, softened
2 cups sifted confectioners' sugar
1 teaspoon vanilla extract
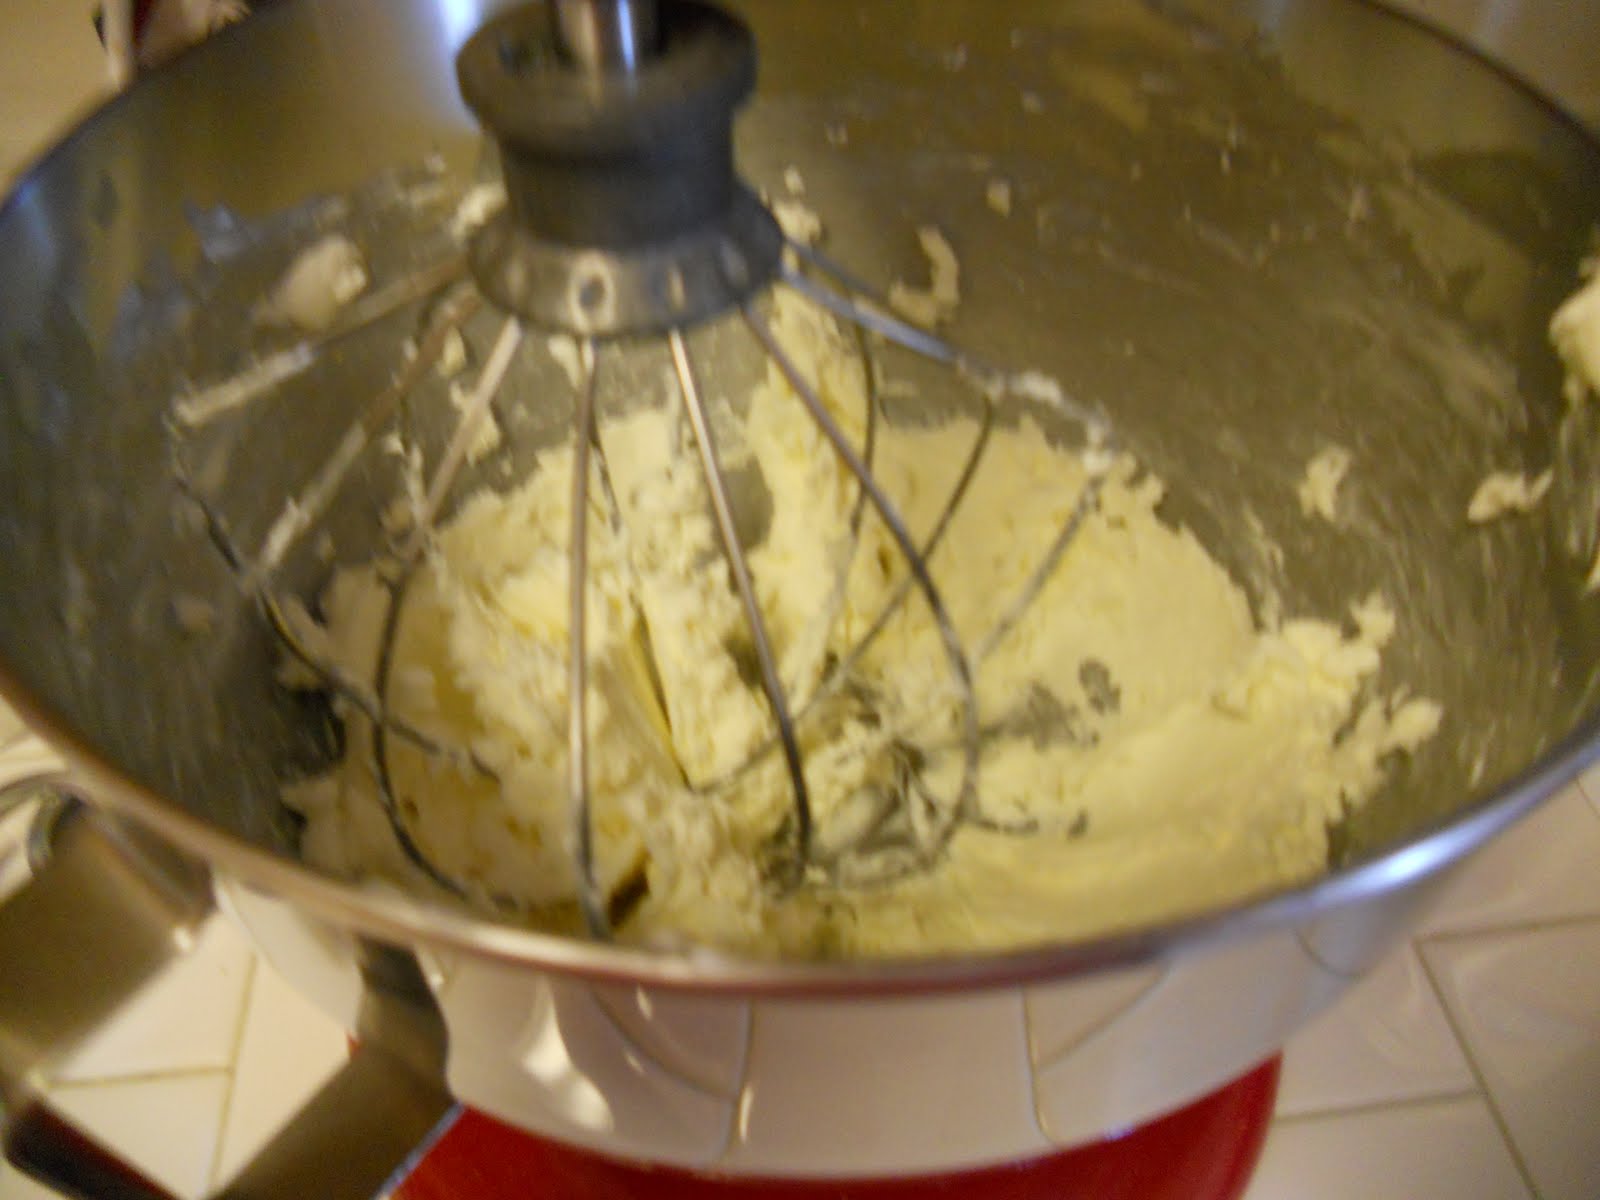
In a medium bowl, cream together the cream cheese and butter until creamy. Mix in the vanilla, then gradually stir in the confectioners' sugar. Store in the refrigerator after use.
1 cup butter, softened
2 cups sifted confectioners' sugar
1 teaspoon vanilla extract
In a medium bowl, cream together the cream cheese and butter until creamy. Mix in the vanilla, then gradually stir in the confectioners' sugar. Store in the refrigerator after use.
1
2

3

4

Subscribe to:
Posts (Atom)
All About Me

